Working With FX and Messy Imported Images In OpenToonz
tutorial, animation, and opentoonz
In this tutorial, I will go over how to use FX, and how I used FX to help clean a messy image up in OpenToonz.
OpenToonz is great, but it definitely has its fair share of issues. For example, it displays this image of Snoop Dogg’s right eyeball weirdly:
 OpenToonz vs Photoshop CC
The random bits of colour away from the eyeball are simple enough to get rid of in Photoshop (for whatever reason, OpenToonz won’t let me directly edit it), but the major issue is that when I render my incredible portrait of Snoop Dogg, his right eye goes from looking acceptable pre-render:

to encircled in a bright orange-white glow like it’s about to roll aside and let a divine beam of light shoot out of his eye-socket after and in the preview:

I don’t know if this is my fault for accidentally changing some unknown setting or not, but what I do know is that this strange border can be easily removed using OpenToonz’s built-in effects.
First, open the Schematic menu by going to Windows > Other Windows > Schematic:

From here, toggle the schematic window to display the FX schematic by clicking this button:

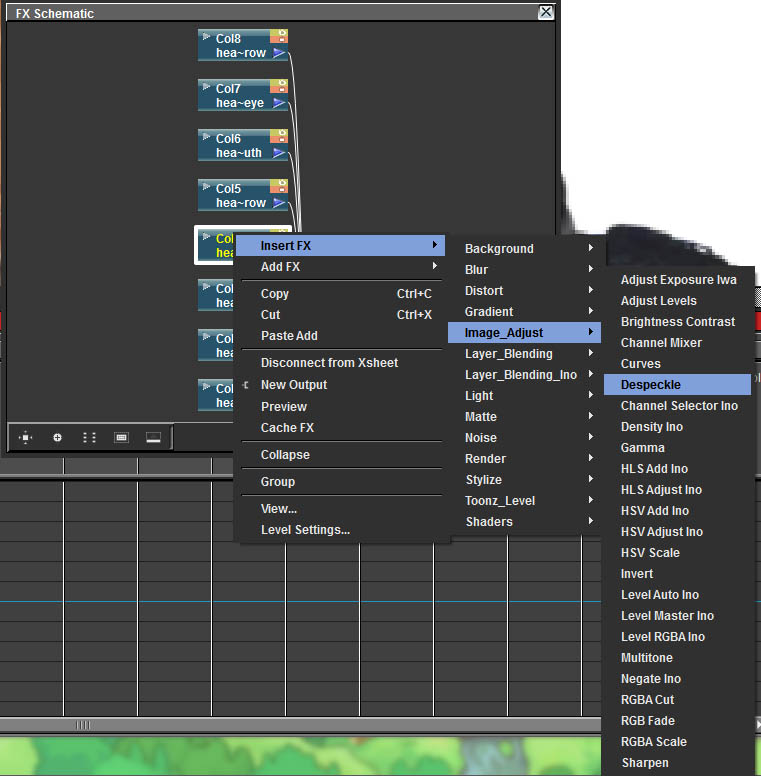
Next, right-click a column/level/node/whatever and you’ll be able to add FX to it by choosing an effect from Insert FX. Here, I’m adding a Despeckle effect.

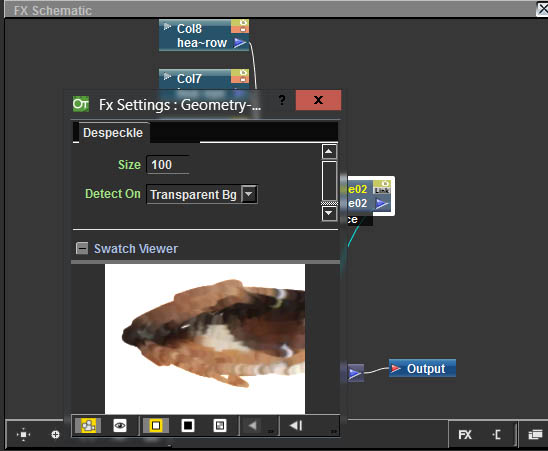
To change an effect’s settings, double-click its node to bring up its settings window.

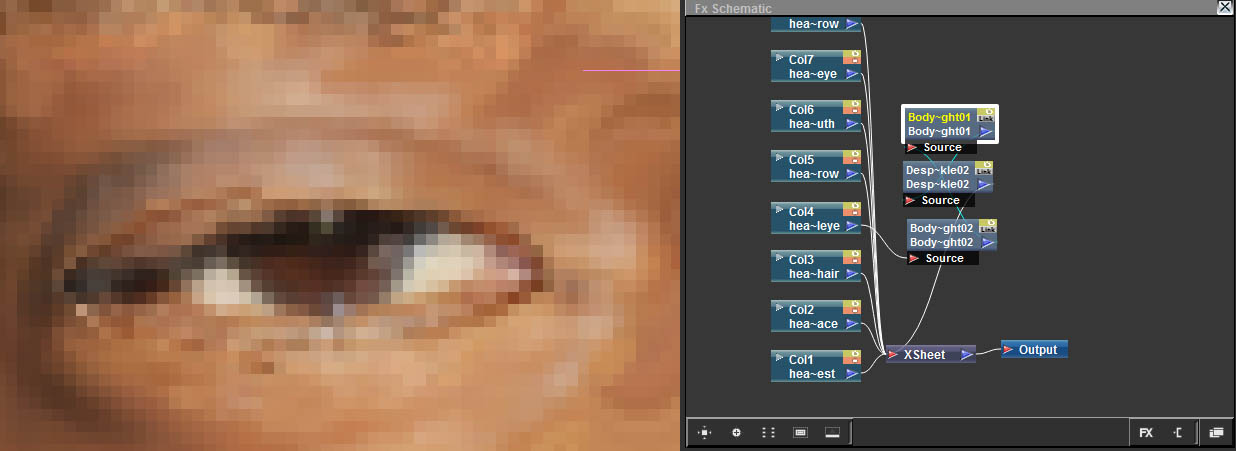
I eventually fixed up Snoop’s eye by using the previously mentioned Despeckle effect to get rid of some of the unwanted debris around the eye, and playing with two Body Highlight (Light > Body Highlight) effects, one for each eye half, to actually remove the border.
 Stunning
That’s pretty much it. One last thing: effects only show up in the final render. You can easily switch between the editor view and render preview by clicking this eye icon to the top right:
